While creating a website is relatively straightforward, setting up an online store can be more complex. You’ll need a way to add products to your store, accept payments, and comply with security regulations. However, this process can be challenging if you’ve never done it before.
Fortunately, with our guide, you can find out how to create an online store in WordPress. From installing WooCommerce to choosing the right theme, we’ll show you how to do it all.
In this post, we’ll guide you through five simple steps to creating an online store in WordPress. Let’s get started!
How to Create an Online Store in WordPress (In 5 Steps)
Before starting this tutorial, you’ll need a WordPress website. You can install WordPress yourself, but it’s much easier to find a quality web host that will do this for you or provide a one-click installation. Plus, some hosts offer additional perks like a free domain name and an SSL certificate to authorize transactions on your site.
Step 1: Install WooCommerce
Once WordPress is up and running, you’ll need to choose an e-commerce platform to transform your site into an online store. WooCommerce is a popular (and free) option:

Like WordPress, it’s flexible, open-source, and easy to install. You can use WooCommerce on your site via a WordPress plugin, and take advantage of its many extensions to enhance your store.
To get started, install the WooCommerce plugin by going to Plugins > Add New in your WordPress dashboard. Search for “WooCommerce”, then click on Install Now:
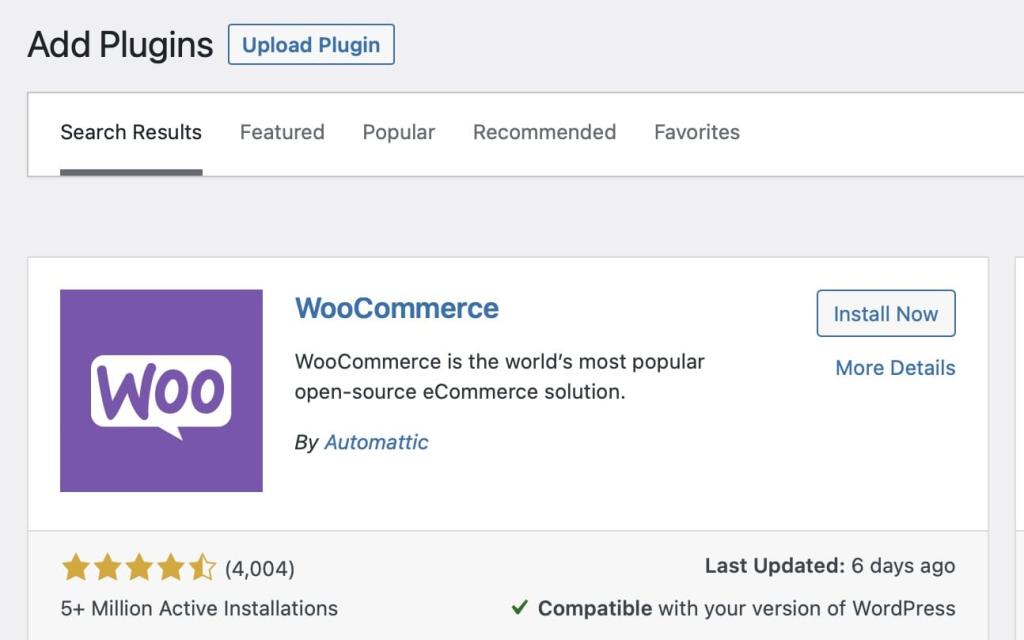
This might take a few seconds, and then hit Activate.
At this point, WooCommerce will launch the setup wizard, guiding you through important configuration settings. For instance, you’ll be asked to provide your address, country, and industry, as well as specify what type of products you want to sell.
Now, you’ll land on a page that says Business Details:
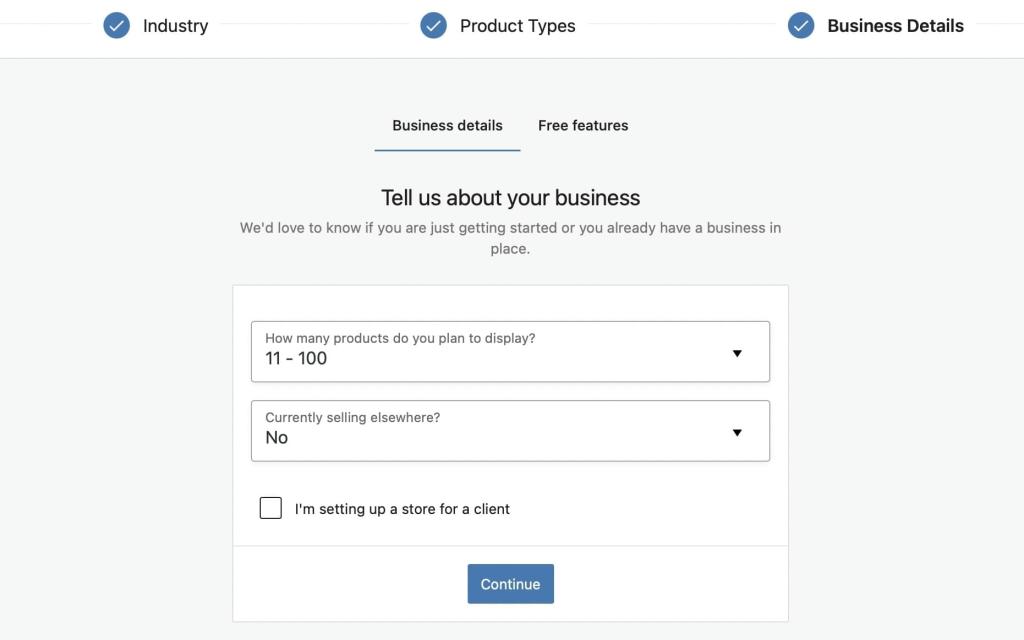
Here, you can estimate how many products you plan to sell and inform WooCommerce about whether you’re currently selling elsewhere. If you prefer, you can skip this step and fill in the information later.
Then, switch to the Free features tab:
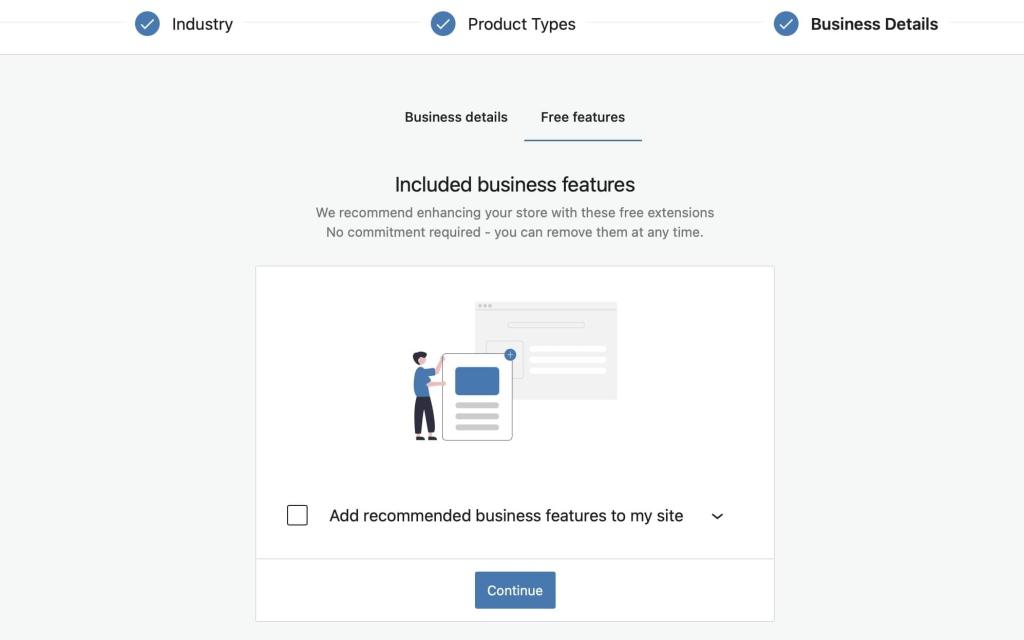
Untick the box that installs free features. If you leave this box checked, WooCommerce will install several extensions you might not need. Then, click on Continue.
Step 2: Set Up Payments
Since you’re creating an online store, you’ll also need to set up payment methods for online transactions. Navigate to WooCommerce > Settings > Payments:
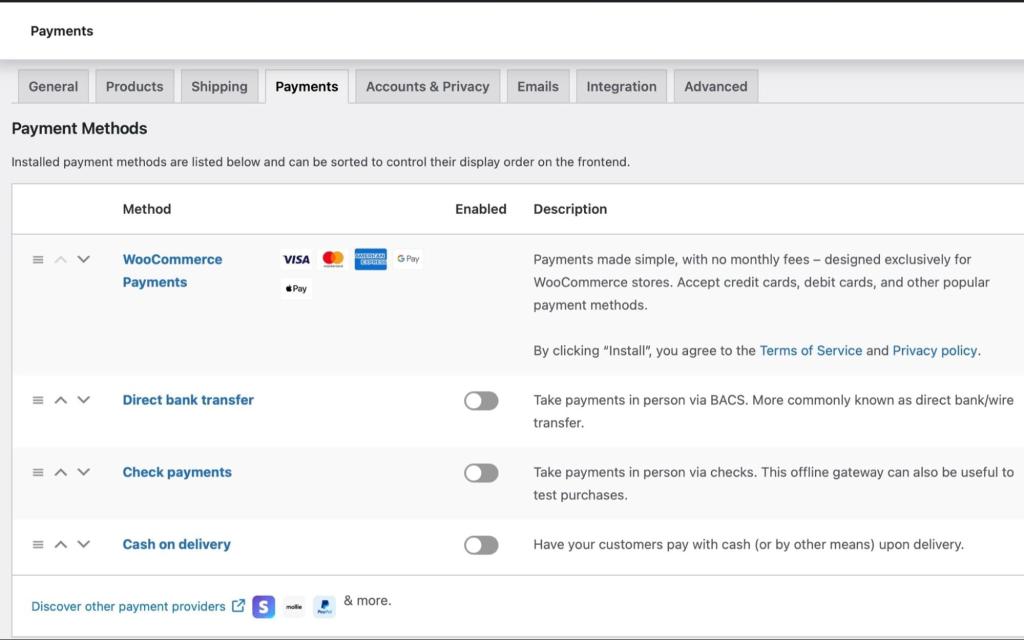
Here, there are some default options such as PayPal, bank transfers, and cash on delivery.
Scroll below for additional options like PayPal Checkout, Stripe, and WooCommerce payments. Then, click on Discover other payment providers to install the relevant WooCommerce extension:
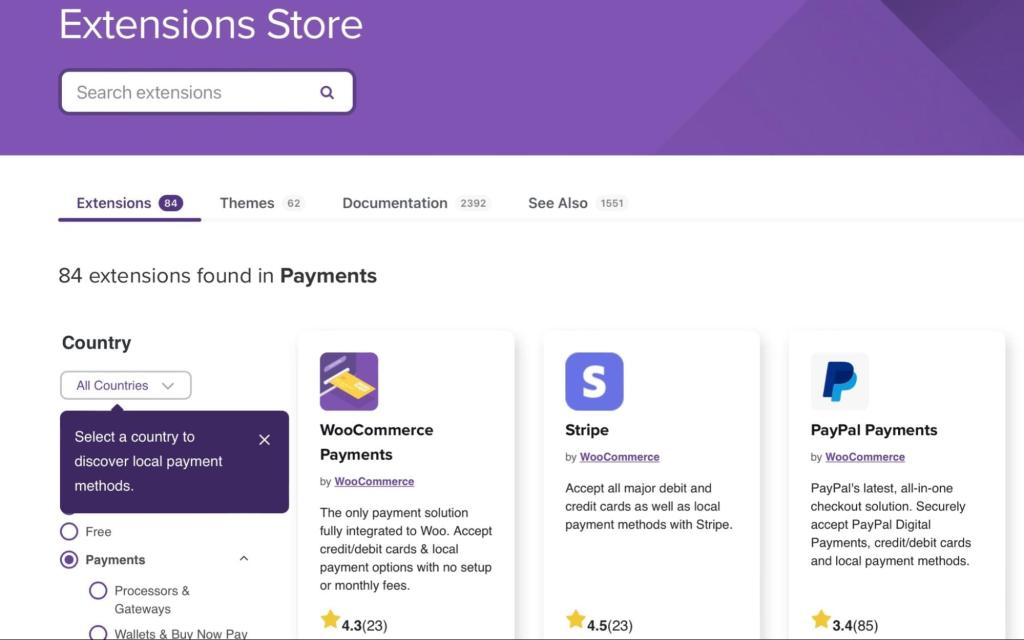
You’ll need to set up each payment gateway individually by entering your account details and configuring its settings. For instance, if you’re using Stripe, you’ll have to create an account with Stripe beforehand and then enter your API keys.
Once you’re happy, save your changes.
Step 3: Add New Products
Now, you’re ready to start adding products to your online store. This is very easy to do in WooCommerce. Simply head to Products > Add New:
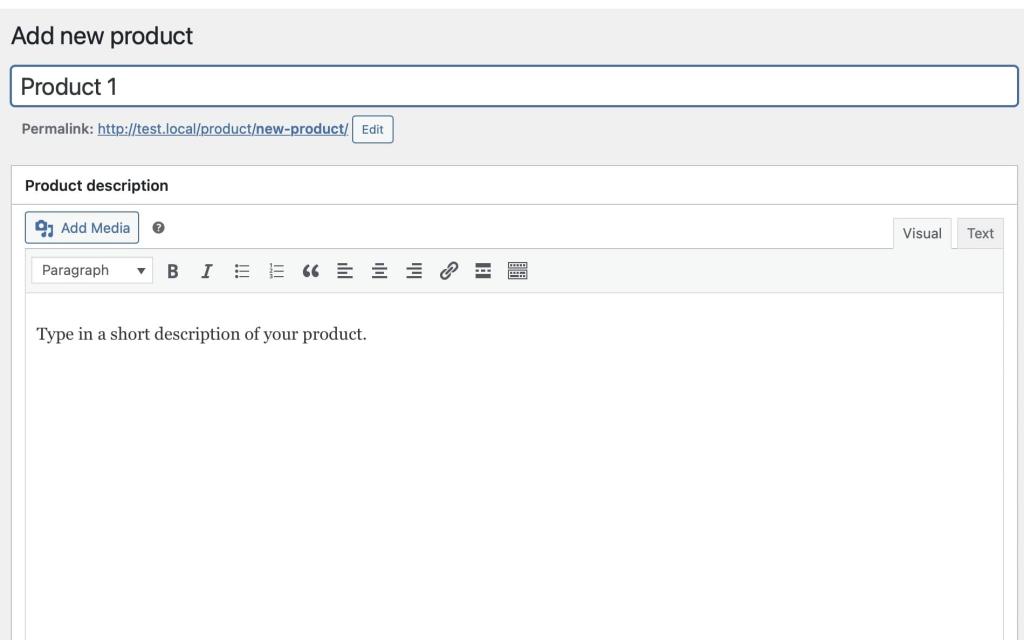
Here, provide a title for your product and add a brief description. Then, to the right of your screen, you’ll see Product categories. Click on Add new category:
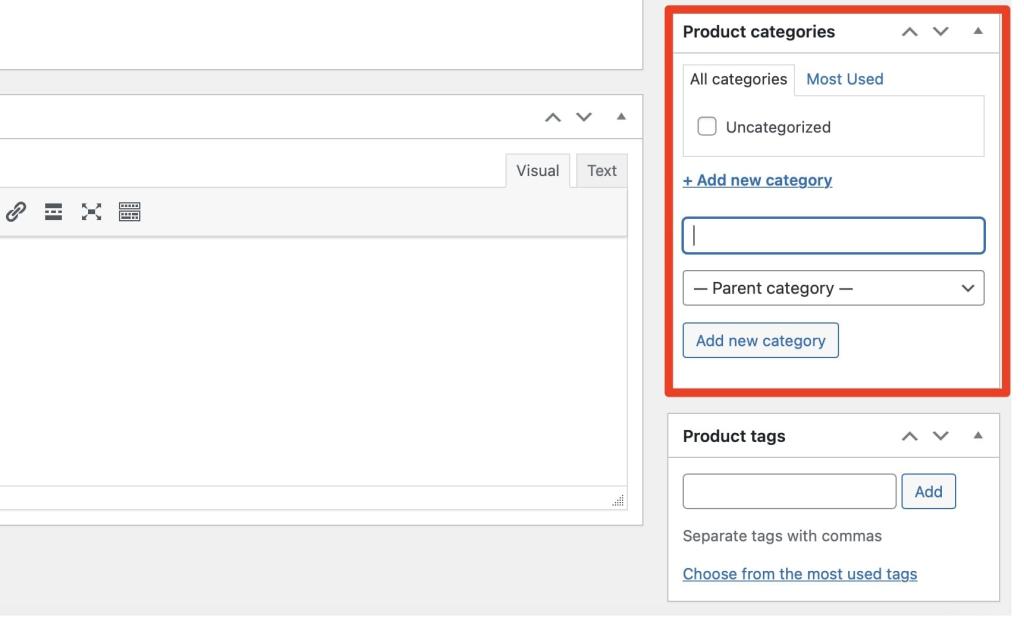
Using categories is a productive way to organize your products. Categories let customers browse items more easily within your store, so it’s worth adding a few different ones.
Moving further down, you’ll find a section labeled Product data. Here, you can provide prices, inventory information, and shipping details.
Below this, you’ll come across the Product short description. Users will see this information on your product page. Therefore, it’s essential to adequately explain or describe your product and its features so that shoppers will be interested in it.
To the right of your screen, you can add a main product image and a gallery:
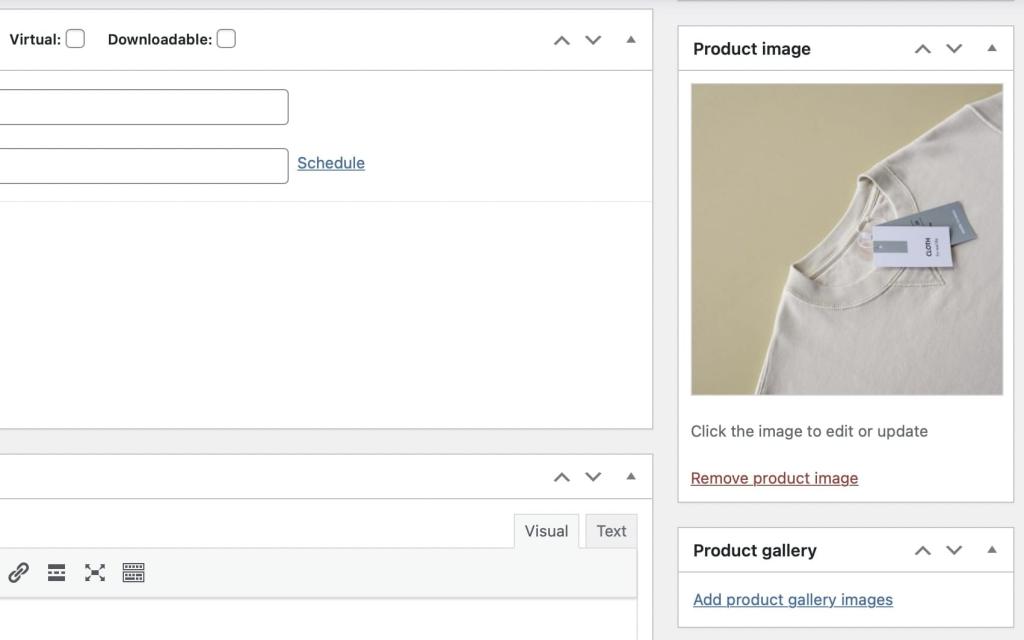
For instance, consider showing your product from different angles so that customers better understand your item.
Once you’ve filled in all the relevant sections, click on Publish to make your product live. Then, simply repeat the process to add more items to your store.
Step 4: Choose a Theme
Choosing the right theme is an important part of creating an online store, since the theme determines your site’s entire look and feel. For e-commerce sites, your theme will also control product display.
You can find plenty of free WordPress themes by going to Appearance > Themes > Add New:

However, the features you’ll want for an online store might differ from those you’d need for other sites like a nonprofit website or a membership site. That’s why it’s a good idea to choose a flexible WooCommerce theme that can be customized to meet your exact needs.
For example, Kalium WordPress theme is an excellent choice with plenty of customization options. It’s suitable for a range of businesses, including restaurants, consulting businesses, travel agencies, photography sites, bookstores, and more:

Better yet, you’ll have access to 20+ templates to speed up the design process, so you don’t have to build every page from scratch. Kalium can also help you enhance your User Experience (UX) with a mega menu that facilitates smooth and easy navigation.
Plus, you can access a ‘Wishlist’ feature where customers can save products they’ll buy later. You’ll also benefit from responsive designs and lazy loading to boost content delivery and mobile performance.
Step 5: Enhance Your Store with Plugins
At this point, you’ve successfully created an online store. However, you might also want to add more features to expand its functionality. One of the best things about WordPress is that you can install plugins to gain more features.
For instance, you might include signup or login forms on your pages so customers can create accounts for your store. WPForms is a beginner-friendly form builder that can help you do this, with drag-and-drop fields and pre-built form templates:
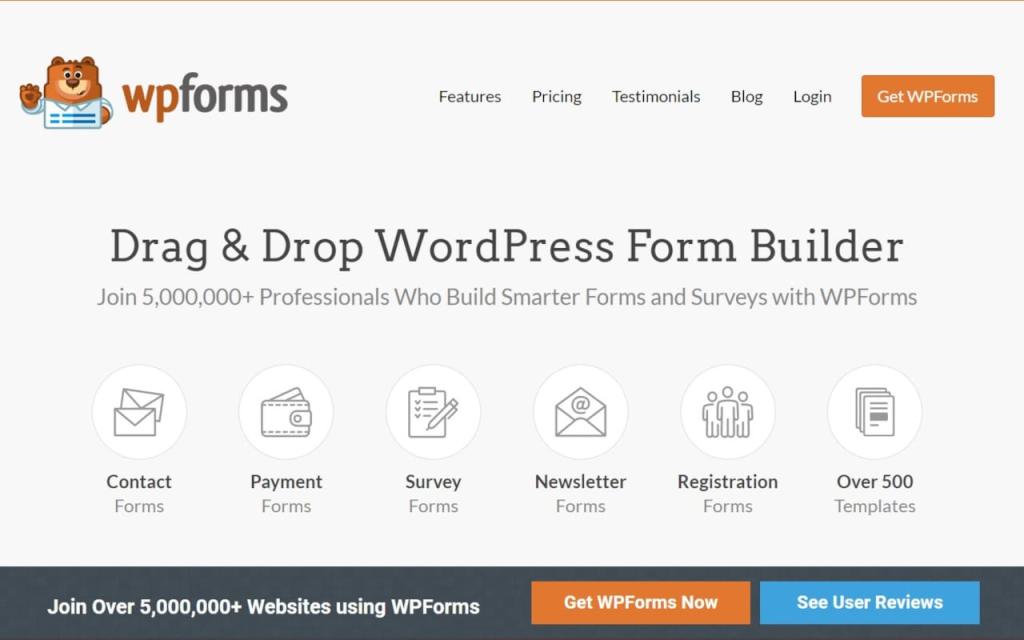
It enables you to seamlessly embed forms on your pages and connect them with an email marketing provider. This is a great way to further promote your store and build stronger relationships with customers.
Additionally, you can use a page builder plugin such as Elementor. This kind of tool helps you quickly build your landing pages. Plus, Elementor enables you to design your pages on the front end, making the process easier for first-time website owners:

Finally, since you’re creating an online store, you may want to offer discounts and offers to your customers. Using Advanced Coupons is an excellent way to achieve this:
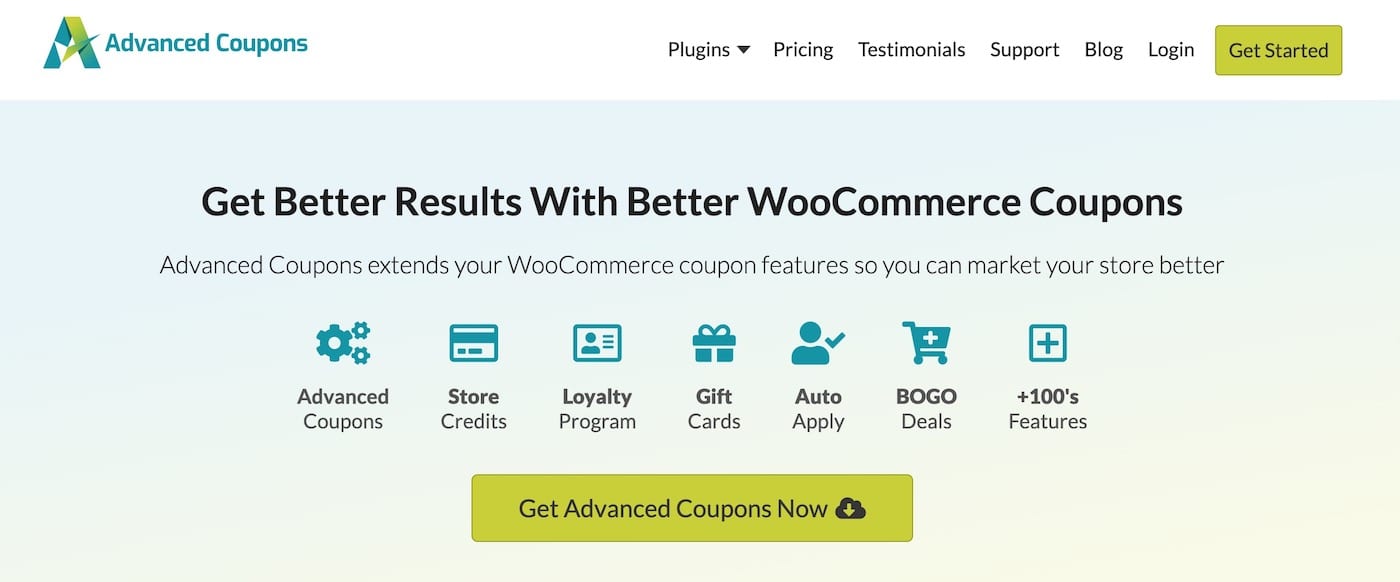
This plugin helps you create BOGO deals, apply specific cart conditions, and enable store credit. With Advanced Coupons, you can also set up a loyalty program to improve customer retention rates.
Conclusion
If you’re looking for a way to sell products on the internet, you’ll need to set up an online store. This process can feel quite daunting for beginners. As we’ve seen, however, it’s simple to transform your WordPress site into a fully operational e-commerce shop.
To recap, here’s how to create an online store in WordPress:
- Install WooCommerce.
- Set up payments.
- Add new products.
- Choose a great WooCommerce theme like Kalium.
- Extend your online store with plugins.
Do you have any questions about creating an online store in WordPress? Let us know in the comments section below!